At Design102, we know that video is essential to telling stories, connecting with people and bringing campaigns to life. That’s why our video experts have expanded the Design102 offer to include drone footage, 360 degree photography and hyperlapse video.
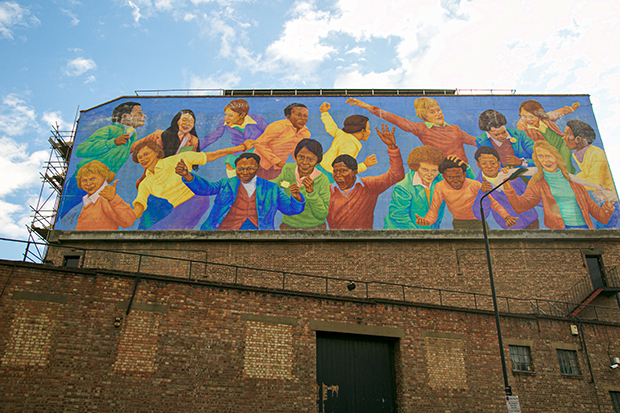
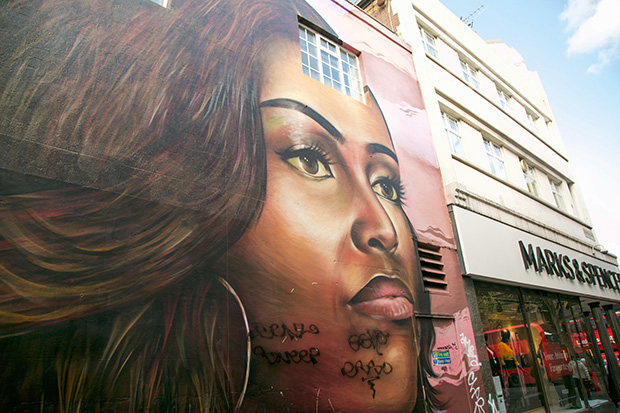
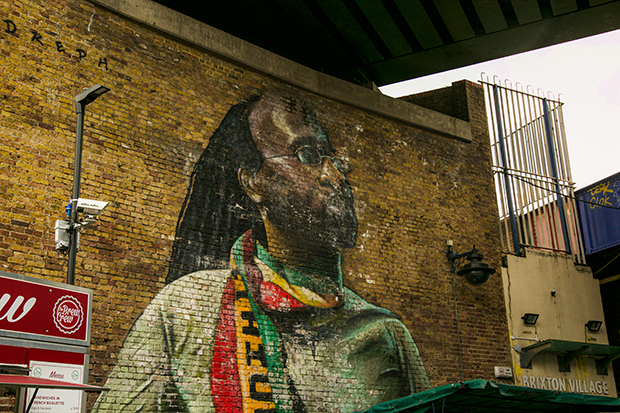
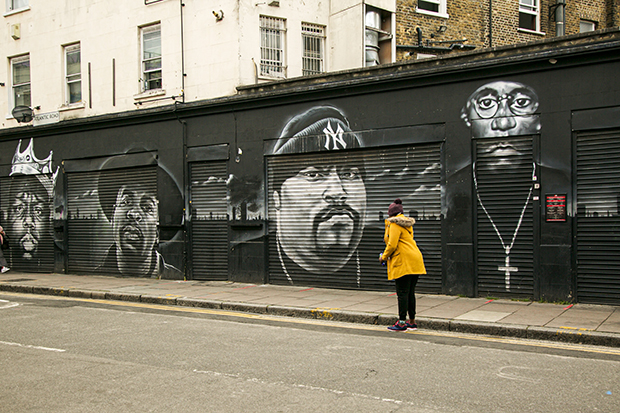
We were excited to trial these new techniques as soon as possible. During Black History Month, we had an opportunity to use the hyperlapse technique to capture colourful murals in Brixton, which pay homage to Afro-Caribbean artists, influencers, actors and local legends.
Our video producer Willow explains what a hyperlapse video is and why it’s an effective and important video technique that can bring energy and life to your projects:
The subject
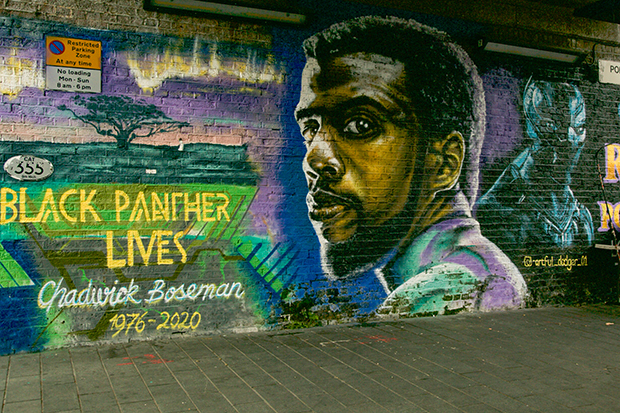
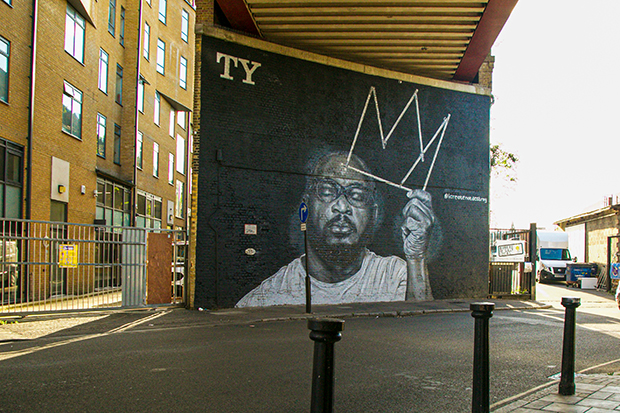
Former First Lady Michelle Obama, Black Panther star Chadwick Boseman, and Brixton-based Rapper TY are just some of the faces featured in the artworks, some of which are over 30 feet tall. Together, they have an exciting visual impact that I was keen to replicate on camera.
As well as being the ideal medium for showing off the scale of the murals, the hyperlapse uses movement over much longer distances, meaning I could also show the viewer the context and setting in which they’re based.
The basics of hyperlapse video
A hyperlapse is a form of time-lapse technique that allows a photographer to create motion shots by manually moving the camera between each shot. Put simply, it’s a series of individual photos pieced together to look like a video.
You can shoot on a tripod for a smooth video, however, this is the most time-consuming method so my preference is handheld.
Why you should use hyperlapse
Hyperlapse is a cost-effective and simple way of telling a great story. It captures viewers’ attention and provides an innovative new perspective to take viewers on a journey.
This technique can make almost any subject matter feel graceful and interesting, which is particularly useful if you’re working on a topic that audiences are very familiar with or even tired of. The best advantage is that you can move and choose the perfect angle without being limited to only one point of view.
How to create hyperlapse video
To film a hyperlapse you need a location which has plenty of space, as you will need to move around to capture the motion and transitions. Before shooting, I always walk or make the move I’m planning on capturing so I can get a sense of how far to move between each photo.
When it comes to movement, hyperlapses are very versatile. It’s important to choose a motion before beginning to film. Moving towards the subject, moving away and moving around are the most common motions.
Before I start to take photos, I look at my subject and find a focal point. When shooting the Brixton murals, I mainly focused on the eyes, but if you are focusing on a building, the edge might be best or anything else that stands out.
Since this technique involves moving a lot, the focal point is really important in making the images look stable and consistent. Whatever you do, you need to make sure your focal point is always held in one position, no matter where you move!
Taking a photo with every step
This is when I begin to capture my images. I always make sure to adjust my camera settings first to make the subject look as appealing as possible.
I then choose my starting point and make sure I have enough space to move toward, away from, or around the subject. Then I’ll take the first photograph.
I take another step, align the mural on my grid display, and take another photo. The amount of photos I need to take depends on the distance I need to cover, and it varies from shoot to shoot. If my subject is far away, I could take one photo every few steps. If it’s nearby, I could take a photo every time I take a step. For this project, I took between 60 and 90 shots per mural, which added up to around 1,000 pictures!
While I’m doing this, I also have to make sure my steps are consistent to avoid a choppy hyperlapse. The cleaner the result, the better. It also makes things easier for the final edit.
There are other factors to consider, too. Sometimes the weather changes during a photo shoot, so we need to adjust the camera settings accordingly!
Editing the hyperlapse
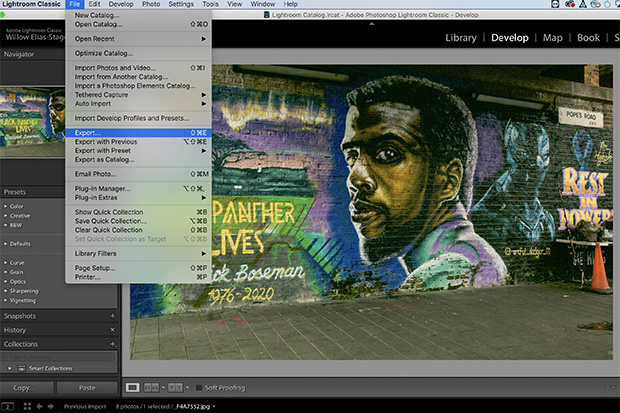
Once I’ve got my raw pictures, I take them into the edit.
The first step in post-production is importing the photos into Adobe Lightroom. For me, this is the best program to use because you can edit photos in bulk and that reduces the time it takes. In Lightroom, I take time to adjust the lighting of the photos, enhance detail, crop and colour grade them.
When I’m happy that my images look strong and consistent, I’m ready to export them.
I then open Adobe After Effects and import the images. The images can often look quite shaky so I select them all and use the pre-compose function. This puts all my images into one sequence.
Following this, I render and export the video, which means my hyperlapse is ready!
https://www.instagram.com/p/CG2WyWxBiUO
The end result
The final video has a contemporary and exciting energy that matches the unique character of the murals. Filming with hyperlapse has allowed me to capture the vibrancy of the paintings and their surroundings in a way that straightforward photography or video can’t quite do.
Hyperlapse lends itself to all subject matters, and you always end up with dynamic footage that can reaally bring a campaign, video or brand to life.
The Design102 video showreel has more information about the video services we offer.
If you’d like to know more about Design102 or you’ve got a project we can help with, just drop us a line at hello@design102.co.uk
For regular Design102 updates ...